Crossing Seas is a paper-pieced block. The following are some pictures to illustrate the instructions in your instruction handout. These photos are just a guide. Refer to your handout for complete instructions.
Begin by placing fabric A and B on the blank side of the foundation pattern as shown. When you hold the foundation to the light, the A square should completely cover the center #1 space. Pin B in place so that when it is flipped it completely covers space #2, including an extra 1/4" extending past the space.


Press that B triangle. (Don't chop off the corners like I did when cropping this photo! Haha!)

When you become comfortable with the technique, you can place and sew two triangles at one time. Way more efficient! Just be sure to be accurate with your positioning.
First round of triangles complete.


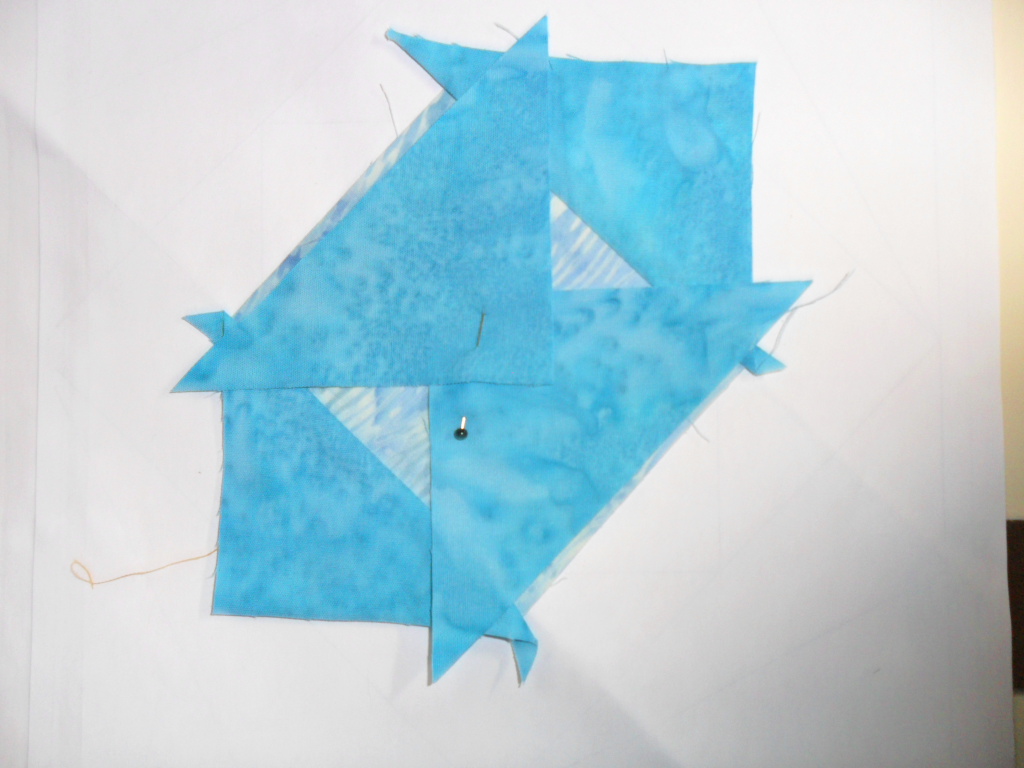
Placement of the D & E triangles is really critical. Your triangles are oversized to help, but you still want to take your time and double-check with your positioning pins along the sewing line before you sew.

And Ta Da! The completed Crossing Seas block for you to enjoy!

No comments:
Post a Comment